What are you going to do in this activity?
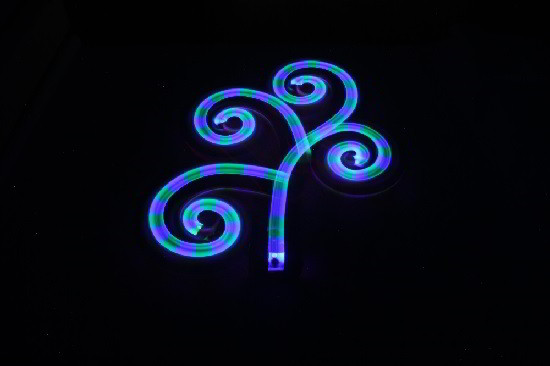
Ever heard of light painting? You may have seen pictures taken with the light painting technique. These are photos taken at night, on which you can see nice streaks of light (usually car headlights or stars).
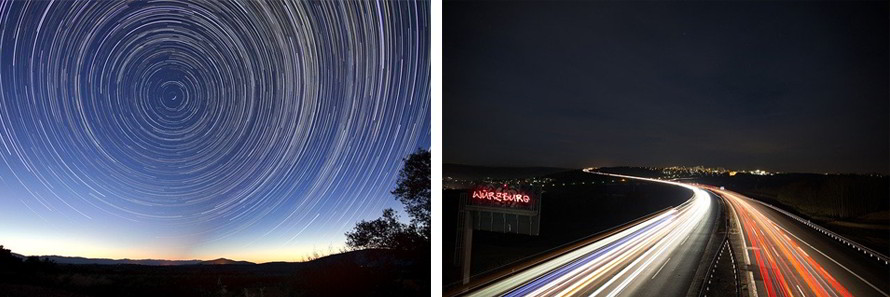
2 examples of light painting
- Age range: 7-16 years (accompanied by an adult for the youngest)
- Difficulty : medium
- Duration: 90 minutes
- Materials:
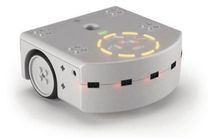
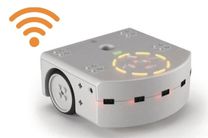
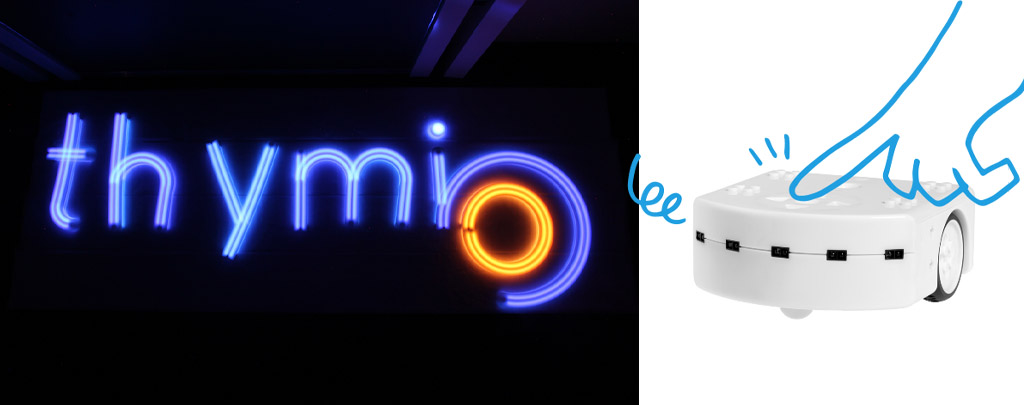
- A Thymio robot
- A computer (with the free Aseba software, downloadable from the internet)
- One large white sheet or several A4 sheets taped together
- A black felt pen (the thicker the tip, the better!) or black rubber tape
- A camera or a smartphone
- A support for your camera or your smartphone (if you don’t have one, it can be a corner of a table, a chair…)
A dark room (this could be your room with the shutters closed and the lights off).
In this activity, you will do some light painting with your Thymio robot! Get help from a member of your family and make light paintings together. Thank you Lucio Negrini from the Roteco community for this beautiful artistic activity with Thymio!
Instructions:
Step 1
Before making a painting, great artists start by creating a sketch. The sketch is the draft of the upcoming painting, which will serve as a guide for the artist to create his work.
You too will start this activity by creating a sketch of your drawing on a sheet of paper. It can be a simple drawing, a word … Remember that you can use several colors!

Attention:
For the little ones, we advise an adult to supervise the feasibility of the drawing. There should not be too many small details, nor narrow angles. There must be enough space between one line and another so that Thymio can move and rotate.
Step 2
Once you are satisfied with your drawing, you will be able to create the track that Thymio will have to follow.
Take a much larger sheet of paper (or tape several A4 sheets together, making 2 rows of 4 sheets) and reproduce your drawing on it with a pencil.

Once it’s finished, go back over the lines of the drawing with a black marker (you can also use black tape).
Attention:
The lines of your track must be 4cm thick so that Thymio can see and follow them.
Step 3
You will now program the Thymio robot to reproduce in color the drawing you just made. You must first install the Aseba Suite (the software to program Thymio) on a computer.
You don’t know Thymio yet? Learn how to use it thanks to the guides and videos below!
If you don’t know the Thymio robot yet, we suggest you start by familiarizing yourself with it. Here are some activities that will help you use it (you can go directly to page 27): I’m starting with Thymio
You will also find here some videos that will allow you to understand very easily how to use Thymio.
Before you code, plan your program!
In the Aseba Suite, choose the VPL interface, which will allow you to program Thymio very easily, even if you have never coded before!
Before starting your program, choose the turquoise thymio mode, place it on your track and switch on the robot. What does Thymio do?
Try to breakdown the different actions that Thymio will have to do to complete his drawing before you start coding.
Answers:
- Program Thymio to follow your track
- Program Thymio to change color at specific times, to create your design
- Create a stop button to stop the robot when it has finished its circuit
Start coding!
If you need it, watch the videos below, they will help you create your program. First try to create a program on your own by testing different solutions.
How program Thymio to follow a line or set a timer?
Examples of programs for light painting

Step 4
That’s it, your program’s ready! Even if it’s not perfect or doesn’t work the way you want it to, it doesn’t matter, you can change it as many times as you want.
Place a camera on a stable place so that it can take a picture of Thymio riding on the track.
Ask an adult to change the camera setting, which should be:
- Exposure time: 10 to 60 seconds
- Opening: between 16 and 30
- ISO: 100/200
If you don’t have a camera at home, you can use a smartphone or a tablet (you may need to download a light painting application if your phone is a bit old, like this one or that one).
Step 5
Now it’s time to take your first picture (the best is to be a two-people team: one starts Thymio and the other takes the picture at the same time):
Press the camera shutter button, start your Thymio, and wait for it to finish its track. The photo will take a long time, between 10 seconds and 1 minute, to capture all the LED colour changes.
If all went well, you should have a nice bright image. What do you see? Don’t hesitate to start again, change your program or camera settings to improve your work! 🙂