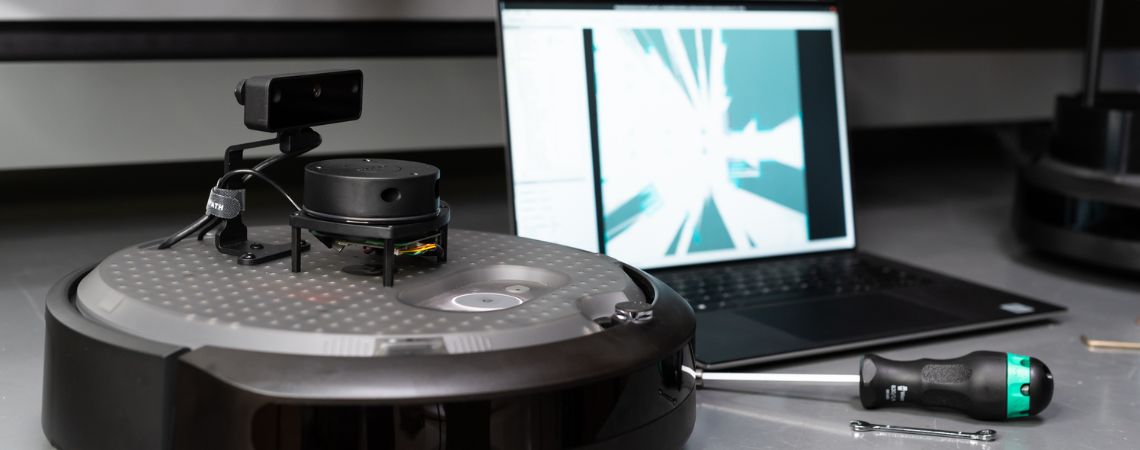
Based on ROS (Robot Operating System), the TurtleBot4 is a powerful and multi-purpose robotics platform for research, development and teaching. Whether you’re a student, a researcher or a teacher, this blog post will guide you through the process of getting your TurtleBot4 up and running quickly!
TB4 Standard versus TB4 Lite: what are the key differences between the 2 models?
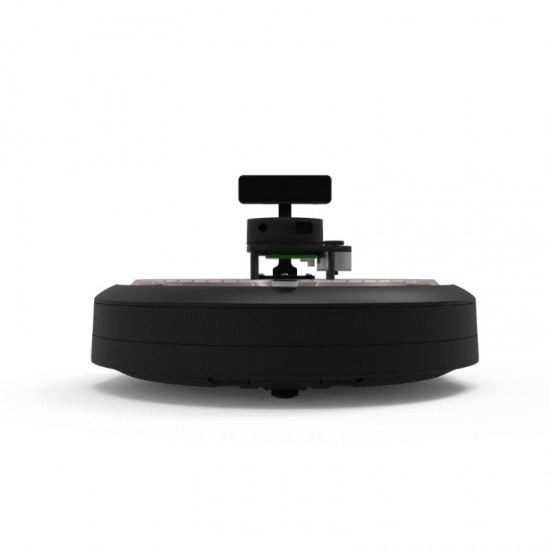
The TB4 Standard features a top mounting platform, as well as buttons, LED lights and an OLED screen with pre-programmed functionalities. Camera side, the TB4 Standard is fitted with a Luxonis OAK-D Pro camera (night vision + wide angle), while the TB4 Lite includes a Luxonis OAK-D Lite camera.
What’s included in the Turtlebot4 box:
- TurtleBot 4 mobile robot (lite or standard)
- A user guide
- SD card adapter
- Bluetooth controller
- Docking station
- USB C cable and adapter
Follow these steps to set the TB4 up and running quickly
Step 1: Software configuration
Install a ROS-compatible operating system on your PC or other virtual machine. We recommend Linux.
Make sure you have ROS2 installed correctly. You can consult the official documentation for detailed instructions:
Step 2: Charging station
Plug in the docking station and position the TB4 on it. The robot will emit a series of beeps if docked correctly.
Step 3: Network setup
Now it’s time to configure the network, and connect the Raspberry Pi board (the robot’s central computer) and the Create 3 (the mobile base).
To configure the network, simply add this line of code to the end of the .bashrc file:
CYCLONEDDS_URI='<CycloneDDS><Domain><General><DontRoute>true</></></></>’
Connect the Raspberry Pi board and Create 3 base to the WiFi network. You can refer to this quick start guide for these 2 steps:
Step 5: Switching on the controller
The TurtleBot 4 comes with a controller that is pre-paired with the Raspberry Pi. To switch it on, simply press the Home button, and wait for the LED on the front of the joystick to flash (white), then become steady (blue).
It is also possible to pair the robot with a custom controller. Simply follow the instructions on this page:
Navigating and selecting pre-programmed functions displayed on the TB4 Standard’s OLED display is done with the controller.
The Turtlebot 4 is now ready for teleoperation!
You’ve now finished configuring and booting up your robot. You can now further explore the TurtleBot4’s abilities while using its different sensors, performing mapping or navigation tasks, and developing your own ROS applications.
TurtleBot4 Standard
From € 2395.00 Tax included

- OAK-D Pro camera
- RPLIDAR-A1
- Raspberry Pi 4 B (4 GB)
- 9kg (15kg in costum) Payload
- 2h30 – 4h Autonomy
- Accessible ports, OLED display, top mounting plate
TurtleBot4 Lite
From € 1549.00 Tax included
- OAD-K Lite camera
- RPLIDAR-A1
- Raspberry Pi 4 B (4 GB)
- 9kg (15kg in costum) Payload
- 2h30 – 4h Autonomy
- Accessible ports, OLED display, top mounting plate