In this tutorial, we’ll show you how to install the Ubuntu operating system on your pcDuino3. Our aim is to describe in detail each of the steps required to install Ubuntu on your new machine so that you have no problem doing the same.
Necessary equipment for installing Ubuntu on your pcDuino3
Before beginning, let’s take a look at everything we’ll need for this tutorial:
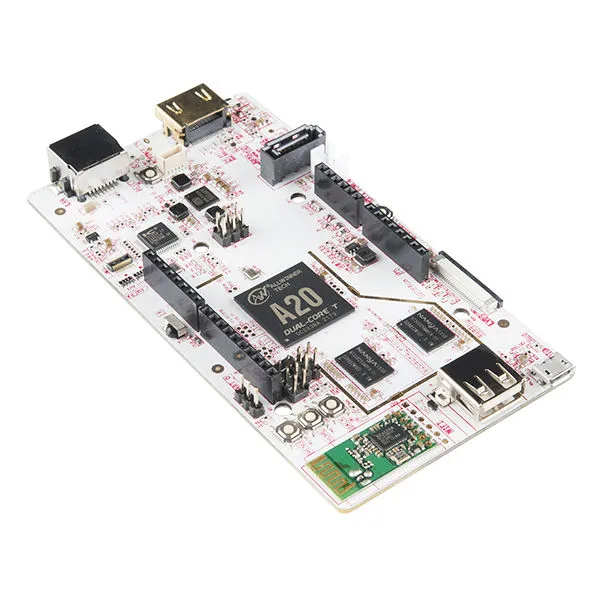
- We'll need a pcDuino3

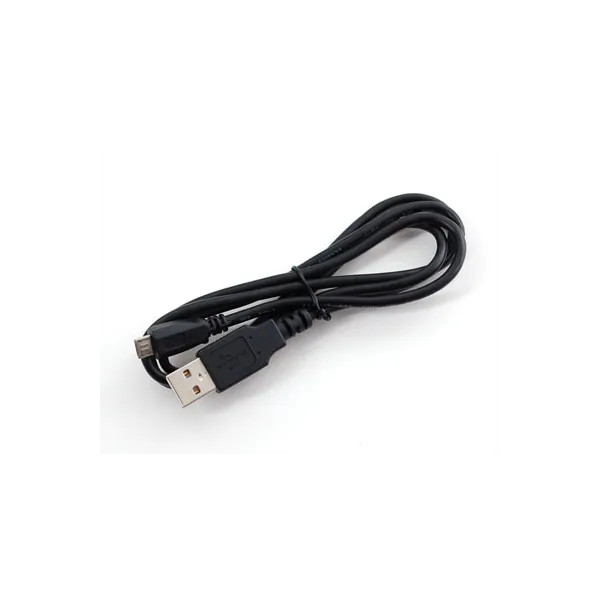
- A micro USB cable to power our pcDuino

- A microSD card and its adapter. Here we’ve chosen an 8 GB card but, since the kernel image is less than 2 GB, a smaller SD card may very well do the trick

-
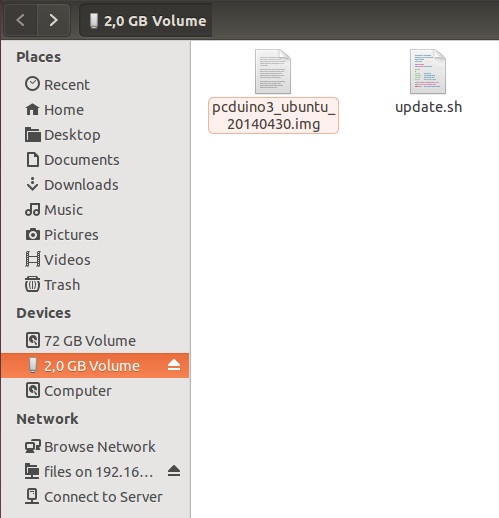
A USB flash drive of at least 2 GB
-
An HDMI connection cable to check on a display that the installation is going smoothly

Now that we’ve had a look at the hardware, let’s move on to the software. To install Ubuntu on our pcDuino3 cleanly, we first need to download the kernel image and the desktop image available online here:
http://www.linksprite.com/?page_id=855
For Linux/Mac users
We’ll begin by flashing our SD card with the kernel image. Here’s how:
- Open a terminal after inserting your SD card and type
df -h - You should see your SD card appear

First remove the partitions if they’re mounted, for example here:
sudo umount /dev/sdd1
sudo umount /dev/sdd2
Then navigate to the place where you’re storing the already downloaded kernel image and type the following command:
![]()
After a few minutes, your SD card should be flashed. Then type:
sudo sync
You can now remove your SD card from your PC.
For Windows users:
You’ll find an article detailing the installation on Windows here:
http://learn.linksprite.com/pcduino/quick-start/steps-to-flash-ubuntu-images-to-pcduino/#next
Now that the image has been flashed on our SD card, let’s install it on the USB stick.
For this, nothing could be simpler, just save the already downloaded files to the root of your USB stick.

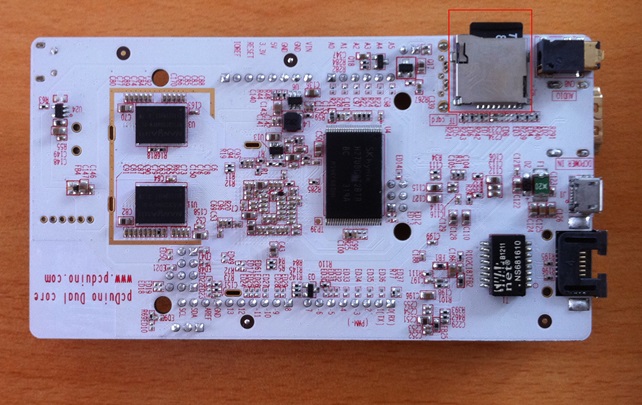
You’re now ready to tackle the serious stuff! We’ll start by installing the kernel on our pcDuino3. To do this, we’ll insert the SD card already flashed with the kernel in the connector provided for this purpose.

Then power your board. The RX LED should light up and flash.
Leave the kernel enough time to flash (a few minutes). Once the LED has gone off, the procedure is completed. At this point, if you plug your pcDuino3 into your display you should see the following instructions appear on the screen:

This means that your pcDuino3 is waiting for your USB stick containing the Ubuntu image and the update.sh script.
Insert your USB stick into your pcDuino’s connector. The following instructions should appear on your screen:

Perfect – all you have to do now is leave the system alone to flash. Once done, restart your pcDuino3. Now say hello to your new PC!
The pcDuino3 board’s computing power and its compatibility with the shields Arduino make it a potentially very useful board for creating robotics platforms. You can for example use it for simultaneous localisation and mapping (SLAM).
