


Why choose Generation Robots?
With 18 years of experience in robotics, Generation Robots is a robots and robotic components distributor.
What makes us different? We have our own engineering department, able to design advanced robotic solutions for different industries (nuclear, aeronautics, etc.).
A comprehensive range of products, hand-picked
A major key player in programmable robotics, Génération Robots has been delivering robotics equipment to many organizations in France and worldwide for over a decade:
- Universities, engineering schools, training centers...
- Research laboratories and R&D departments
- Companies (small and medium-sized businesses, large business corporations)
We have decided not to add an endless array of products, but rather to focus on high-quality or popular references. Before being added to our selection, many products are tested and approved by our team..
Brands that mix performance and durability
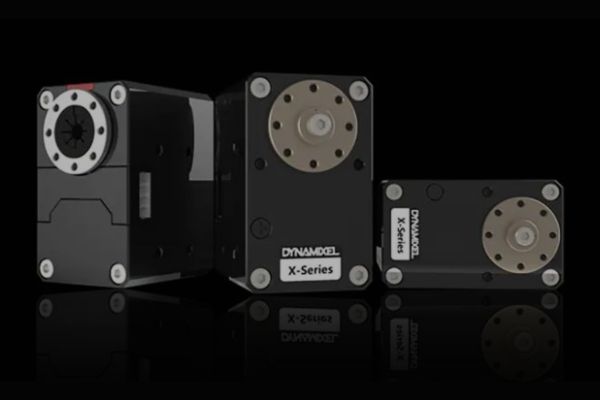
As a renowned company in robotics, Generation Robots has built strong partnerships with iconic brands over the years. We are the exclusive distributor of the Dynamixel range of servo-motors from ROBOTIS (France) and we are amongst the few Boston Dynamics' official partners (distribution of the Spot dog robot).
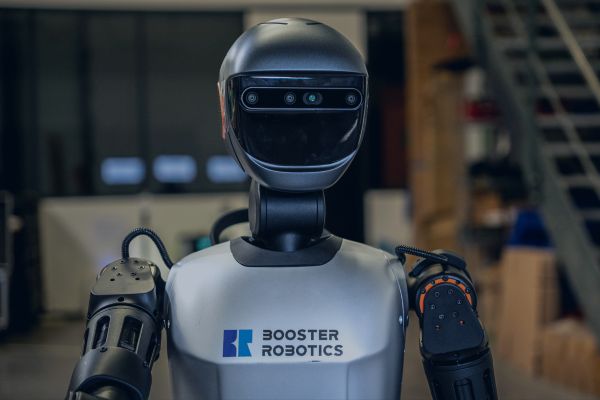
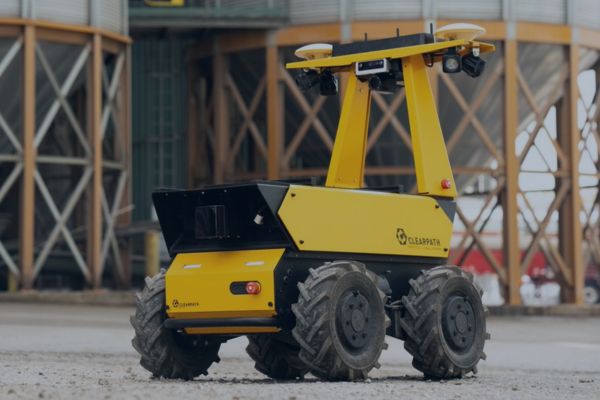
We also sell major robotics trademarks, such as:
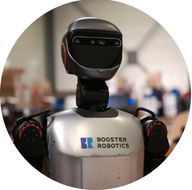
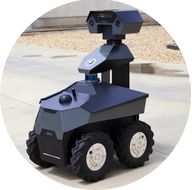
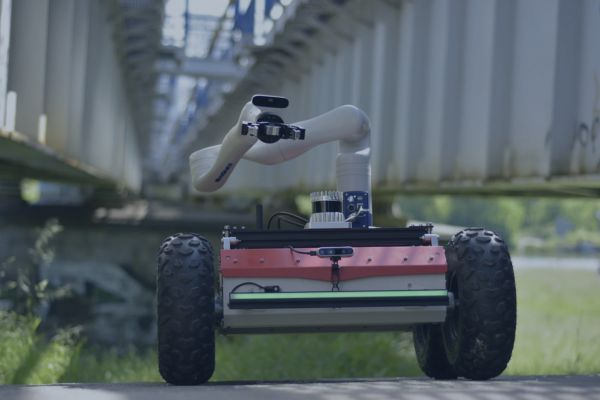
- Mobile Robotics: Boston Dynamics, Clearpath Robotics, Agilex
- LiDAR: Ouster, Hokuyo, RoboSense, SICK, RPLIDAR
- Vision : Intel RealSense, Stereolabs, Luxonis
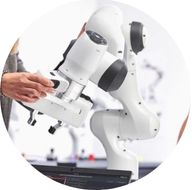
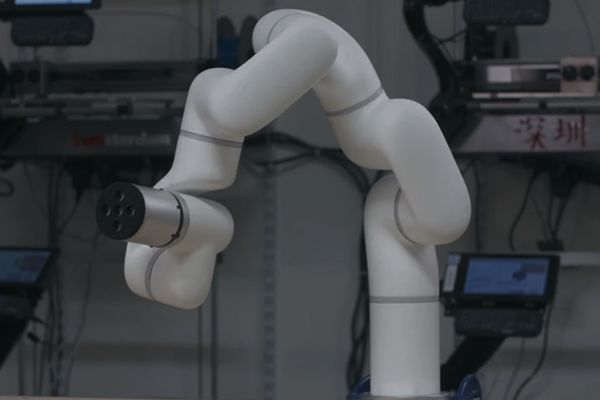
- Robot arms: Niryo Robotics, Doosan Robotics
- Prototyping : Dynamixel, NVIDIA Jetson, Raspberry Pi, Arduino
A engineering department specialized in the design of advanced robotic solutions
Our engineers build or assemble robots complying to strict specifications. We are experts in the development of software and algorithms which are essential to create autonomous robots (cartography, localization and navigation based on SLAM, data fusion...).
Our team also has proven expertise with ROS and ROS2.
Our engineering department (GR Lab) has completed projects for different economic sectors, such as the nuclear industry, aeronautics, farming, surveillance, transportation, etc. We work with small and medium-sized companies, as well as with large corporations. We work with SMEs, research laboratories and large business corporations alike (ONERA , INRIA , CNRS , SEB , Engie , SNCF , Accenture , CEA ...).
A company with a strong international outlook
With offices in Mérignac (Bordeaux, France), Génération Robots also has a subsidiary in Berlin, in order to better service clients in its second largest market: Germany. With a strong international presence, our company exports state-of-the-art technological equipment to more than 100 countries.
A robotics project? Or need to buy robotic hardware?
If you have any questions about our products or services, our teams are ready to help you!
Send us a message via the contact form , call us on +33 (0)5 56 39 37 05, or write to us on our chatbot